How your photo box works.
From setup to the finished gallery: this guide walks through the three areas of the app — the event assistant, the admin area and guest mode — and shows the key features with pictures from the app.
This is where you set up your event.
The most important settings happen in the event assistant: it starts automatically as long as no event is live and leads through nine steps up to checkout.
- 01
Choose design & occasion
Pick one of the three designs with its accent color and enter occasion name, date and greeting — the live preview instantly shows what your guests will see.
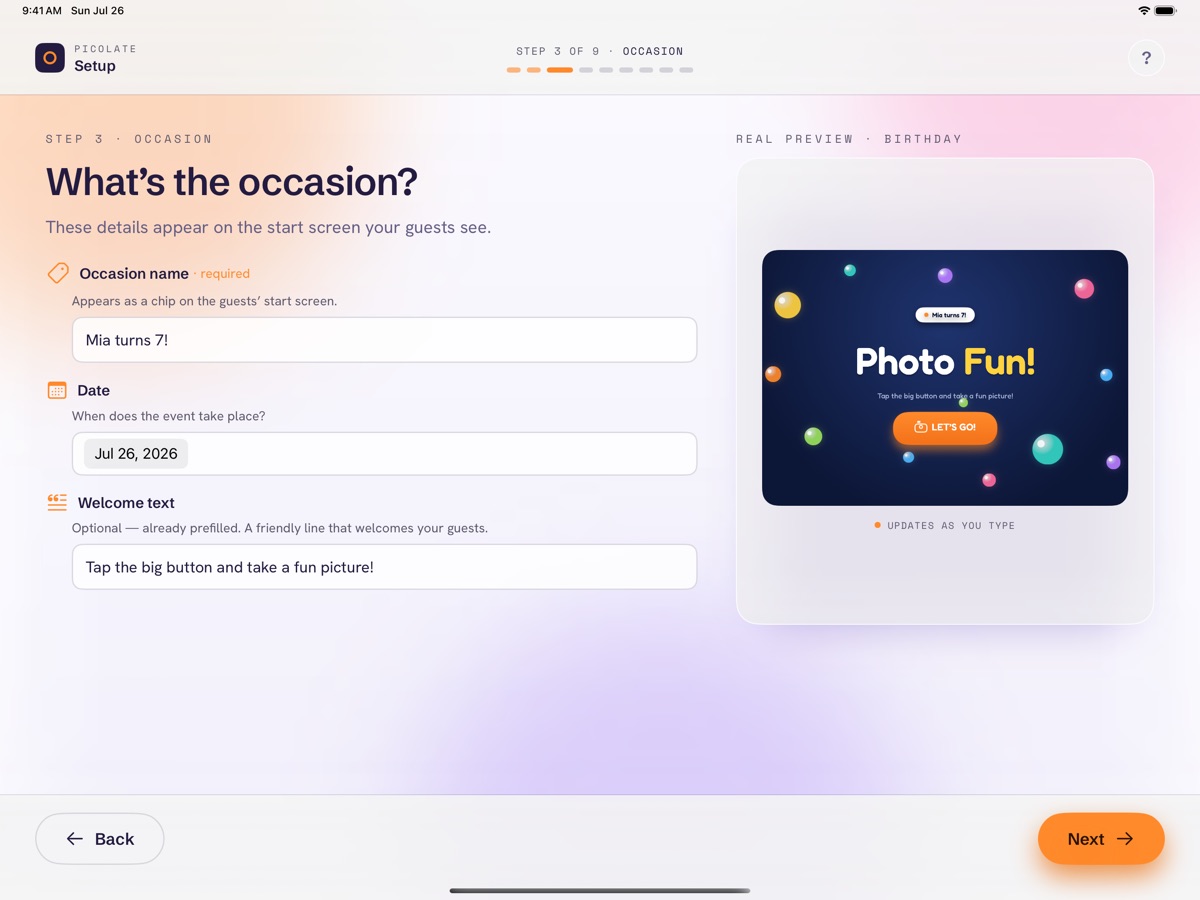
Assistant · Step 3 of 9 · Occasion with live preview - 02
Capture modes & countdown
Decide what guests can capture — photo, strip, boomerang, video, GIF — and which countdown the photo box uses.
- 03
Gallery & upload
Choose whether one link per capture or one link for the whole event applies, whether the “PIN protection” switch additionally secures the gallery with a gallery PIN — on by default — and whether the photo box may also upload over mobile data or a phone’s hotspot. Default: Wi-Fi only. You don’t pick the gallery PIN yourself: the app generates it automatically and shows it to your guests next to the QR code.
With a shared event link you should leave PIN protection on: there a single link opens every capture from every guest. If each shot gets its own link, you can switch it off — a link passed on then shows only that one picture.
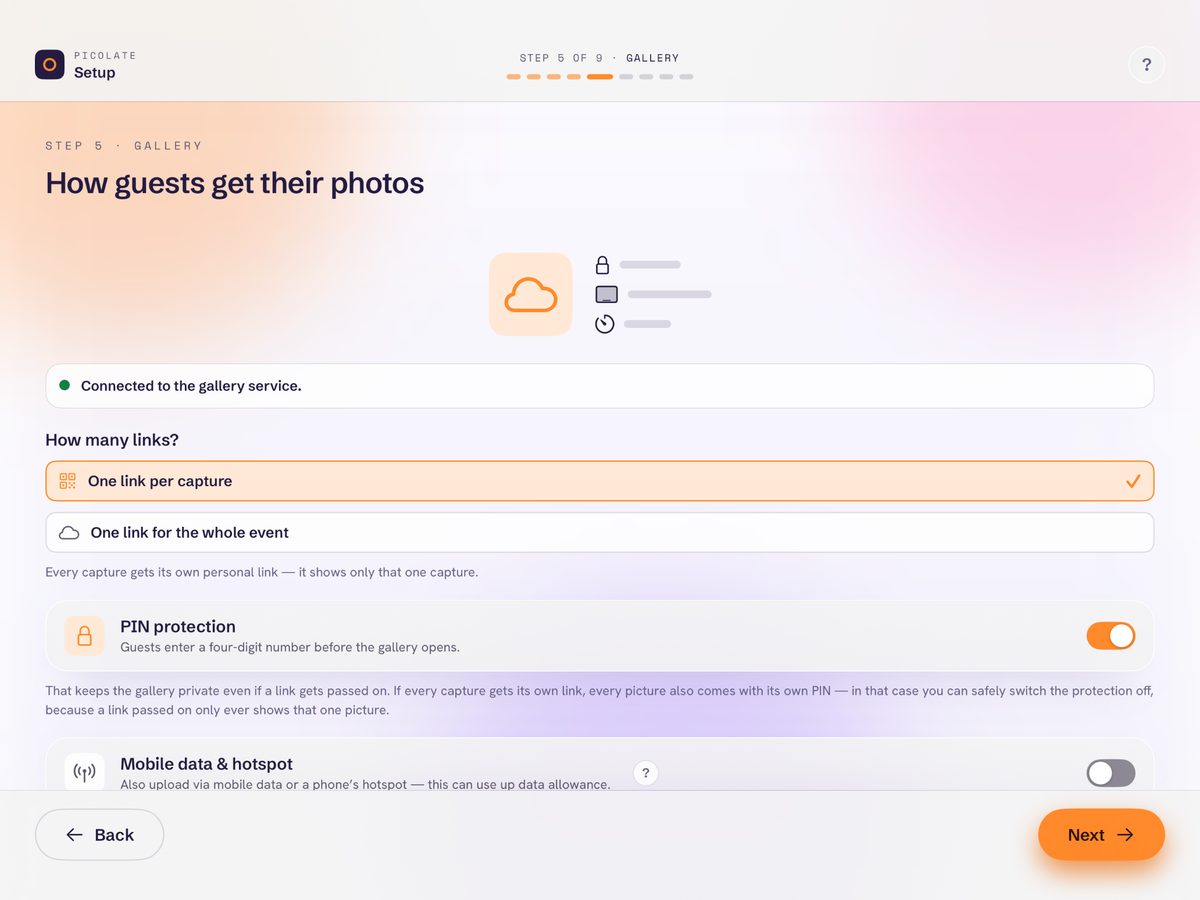
Assistant · Step 5 of 9 · Gallery & PIN protection - 04
Language, admin PIN & guest notice
Pick the event language, set your admin PIN and create the guest notice as a PDF — it’s generated here, before any payment, and can be printed or shared right away.
So you can create the notice ahead of time — the event setup itself only takes a few minutes at the party.
- 05
Go live
Payment happens only in the last step — per event or unlimited with Picolate Plus. After that the photo box is live and belongs to your guests. Before you set it up for them: prepare the iPad for the event.
Two PINs, two jobs: the admin PIN protects the settings area of the photo box — you set it yourself. The gallery PIN protects the photo link for your guests — the app generates it automatically and shows it next to the QR code.
Prepare the iPad for the event.
Three quick moves on the iPad itself before your guests take over — so the photo box reliably fills the whole screen and nobody ends up in the settings by accident.
Why this matters: since iPadOS 26 the iPad can show apps as freely movable windows. Set to “Windowed Apps”, the photo box may appear shrunken with black borders — and guests can move or resize the window by its handle. In “Full Screen Apps” mode the photo box is guaranteed to run full screen.
- 01
Choose “Full Screen Apps”
Open Settings → Multitasking & Gestures and select “Full Screen Apps”. Every app — including the photo box — then always uses the whole screen, with no window handle.
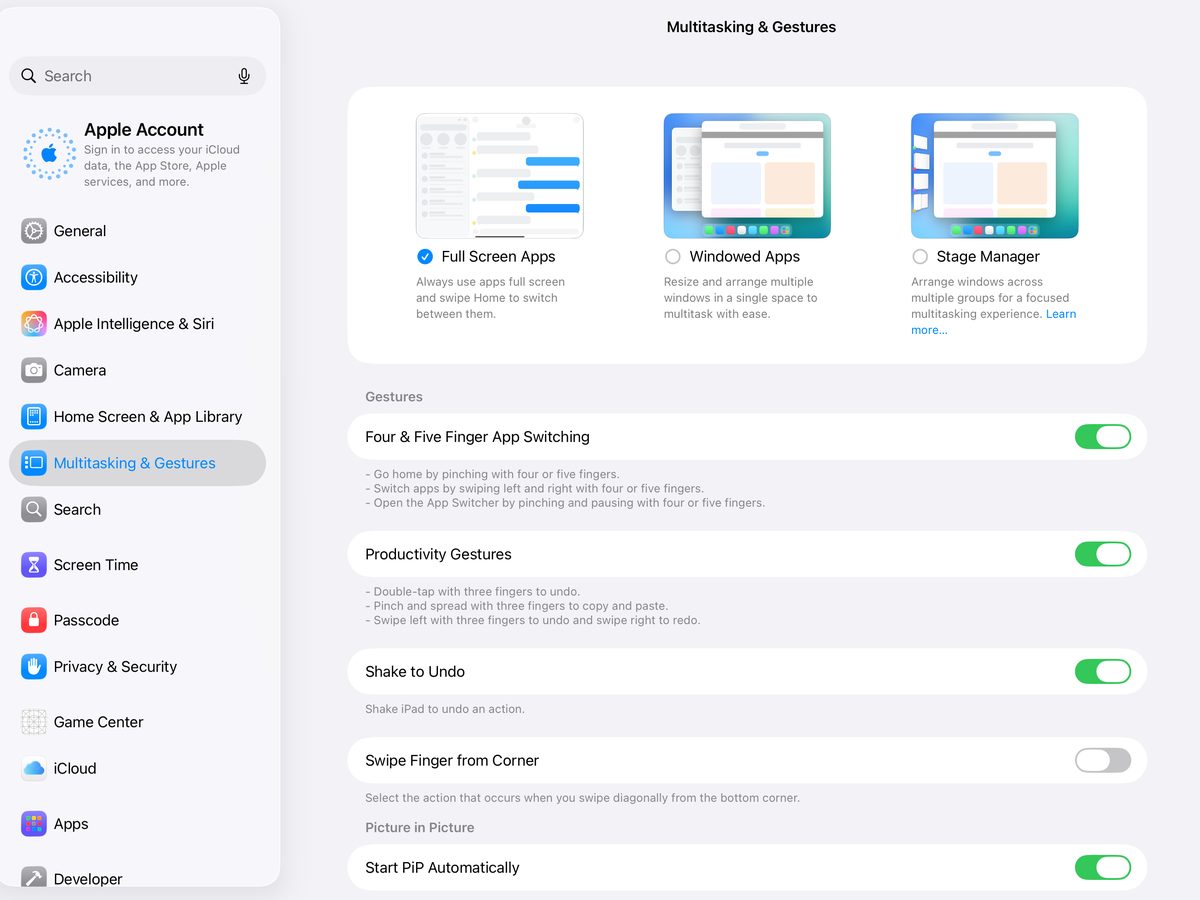
Settings · Multitasking & Gestures · “Full Screen Apps” - 02
Turn on Rotation Lock
Swipe down from the top-right corner to open Control Center and tap Rotation Lock — the padlock icon with the circular arrow. The display then stays in landscape even if the iPad gets nudged while you set it up.
- 03
Start Guided Access
Enable Settings → Accessibility → Guided Access once and set a passcode there. Then start the photo box and triple-click the top button: the iPad is now locked to the app — home gesture and app switching are off. To end it, triple-click again and enter the passcode.
Adjust & manage later.
During the event the photo box stays in guest mode — the admin area sits hidden behind it, protected by your admin PIN.
How to open the admin area
While the photo box is running, press and hold the top-left corner of the screen for about 1.5 seconds, then enter your admin PIN. Many people miss this at their first event — and it’s exactly how you get back to the settings at any time. As long as you haven’t set an admin PIN of your own, the default PIN 0000 applies — best set your own early. And if it ever slips your mind: tap “Forgot PIN?” on the PIN pad and confirm with Face ID or your device passcode — this works entirely without iCloud.
What you can change here
Almost everything from the assistant can be adjusted later: design and accent color, occasion and greeting, capture modes and countdown, upload policy and gallery link, plus camera settings and language. The admin gallery shows all captures with their upload status and lets you delete individual ones — from the device and the server. And you can end the event early at any time.
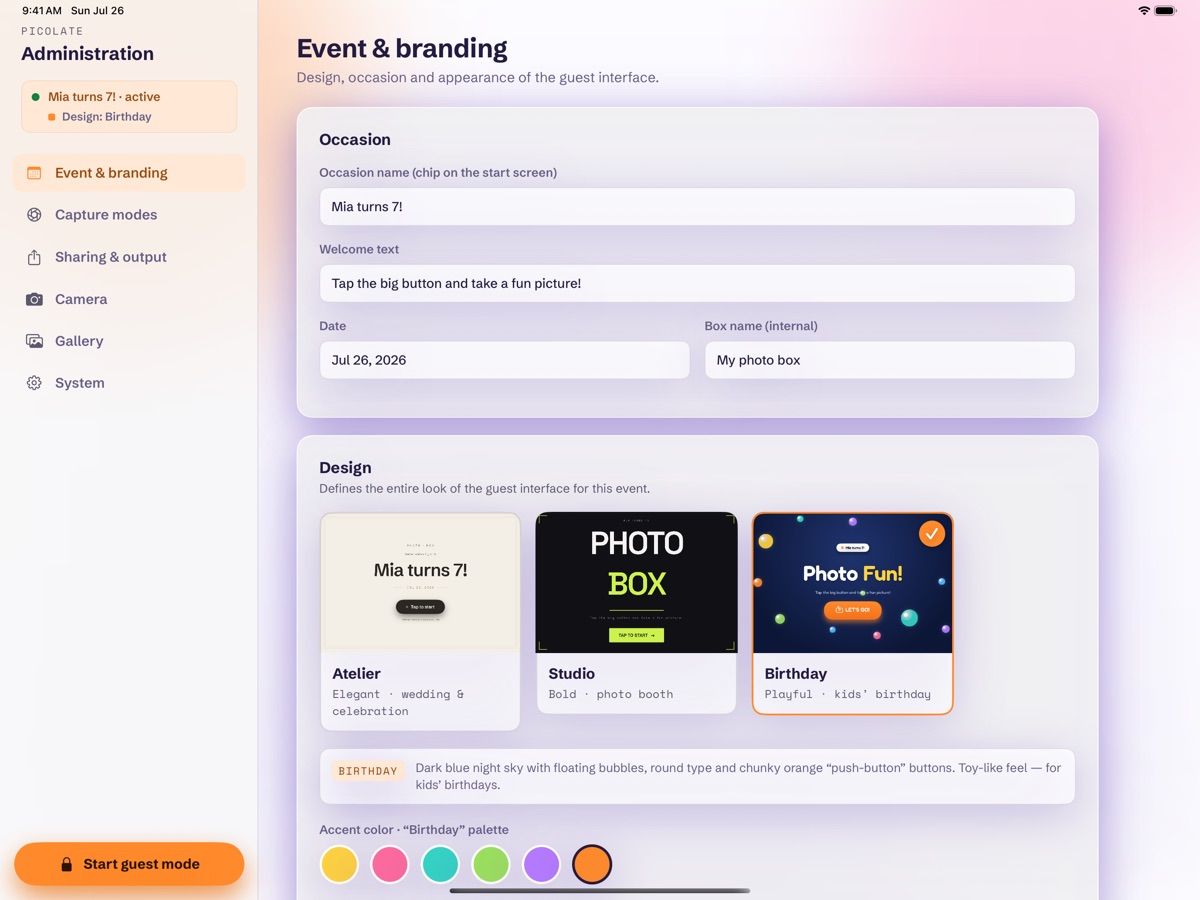
How the party runs.
In guest mode the screen belongs to your guests — all settings stay locked. Capture, view, take along: that’s all they need to know.
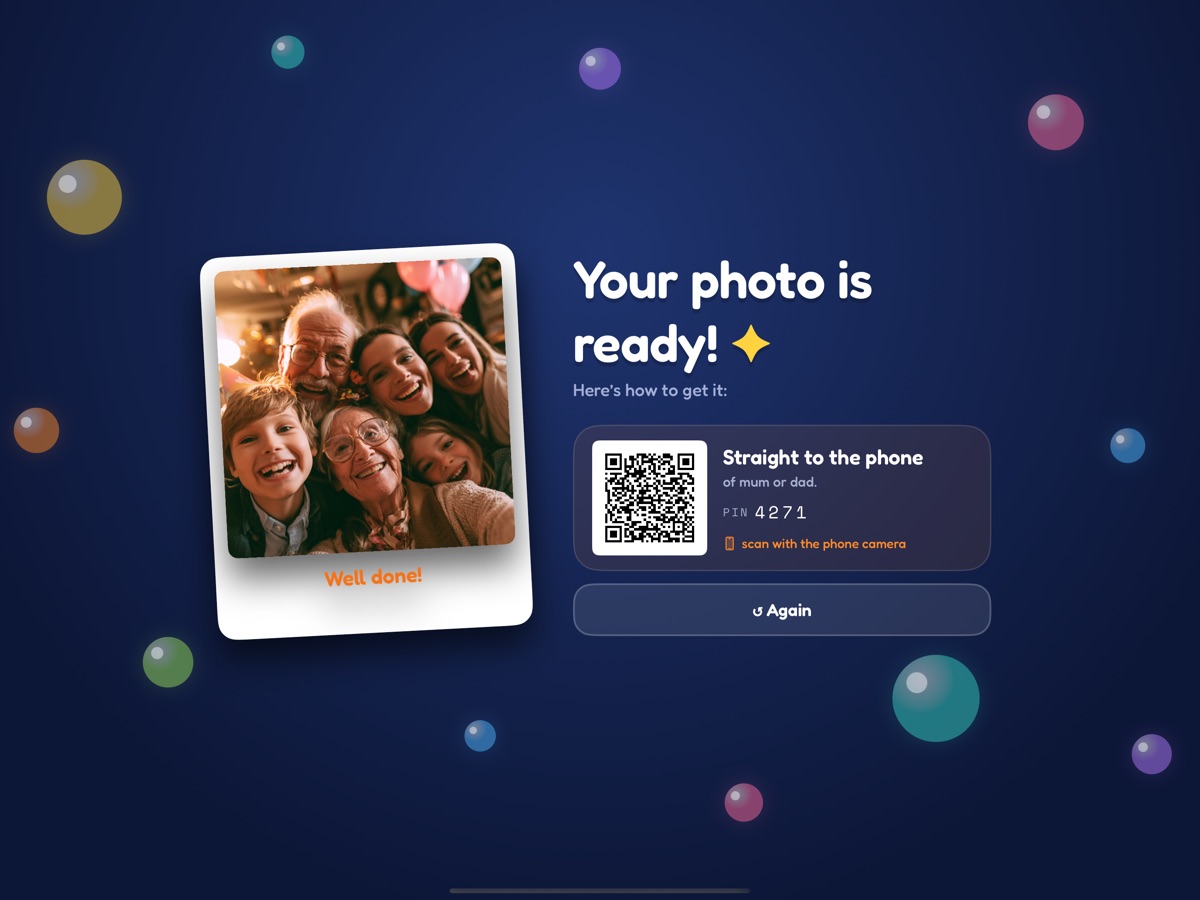
Guests pick a capture mode, the countdown runs, the photo box fires. After every capture the preview screen immediately shows the QR code — with PIN protection on, the gallery PIN, a four-digit number, sits next to it. The photo box uploads the pictures in the background and returns to the start screen by itself.
A tip for your guests: don’t just scan the QR code — take a photo of the screen. That way your access stays with you, even when the photo box has long moved on to the next guest; with PIN protection on you get the gallery PIN along with it.
How long the pictures stay online.
The retention period follows the chosen design — nothing extra to configure. Afterwards the cloud deletes the media by itself; in the admin gallery you can also delete individual captures earlier at any time. Once opened, the gallery stays accessible on that same phone for as long as the captures are online — anyone coming back days later has nothing to type again.
Birthday
The kids’ design. Deliberately short: pictures of children shouldn’t stay online longer than necessary.
Atelier & Studio
The grown-up designs. A bit more time to download — typical for weddings, company parties or shoots.
A quick note: the period is tied to the design, not the occasion. If you run a kids’ birthday in the “Studio” look, 30 days apply instead of 7. So pick the design accordingly — or point the parents to the longer period.
Privacy & a note for parents.
The shots are uploaded to the gallery and thus leave the iPad. That’s convenient for your guests — but it comes with responsibility, especially with photos of children.
- ✓Stored in the EU. The media sit with a German provider (Hetzner) in the EU — not on US servers.
- ✓Only with the link. The gallery cannot be found publicly — no search engine entry, no directory, and the link cannot be guessed. A gallery PIN can be added on top.
- ✓Automatic deletion. After 7 or 30 days (depending on the design) the media are removed server-side.
For photos of children: get the parents’ consent
Before you use the photo box at a party with children, you need the consent of the legal guardians — you organize that yourself, e.g. via the invitation. The app supports you here: when you set up the event, the assistant creates a guest notice as a PDF that covers the upload, access protection and deletion period — in the kids’ design explicitly including parental consent — and before going live you confirm that your guests have been informed.
The notice already tells your guests about the protected gallery and the automatic deletion after 7 or 30 days — put it up clearly visible at the photo spot.